DreamStudio : The Highest Quality Image Generation AI
DreamStudio is also one of the AI services that allows you to easily create pictures from text. This service efficiently and quickly transforms text into high-quality images using stable diffusion technology.
When you first use DreamStudio, you will be provided with a few free credits. These free credits are sufficient for you to familiarize yourself with using the image generation AI or exploring its features. Let me introduce DreamStudio to you.
How to use DreamStudio
If you have already tried DALL-E, Bing Image Creator, or Playground, you will find DreamStudio easy to use. You can access DreamStudio directly with the link below.
Layout of DreamStudio
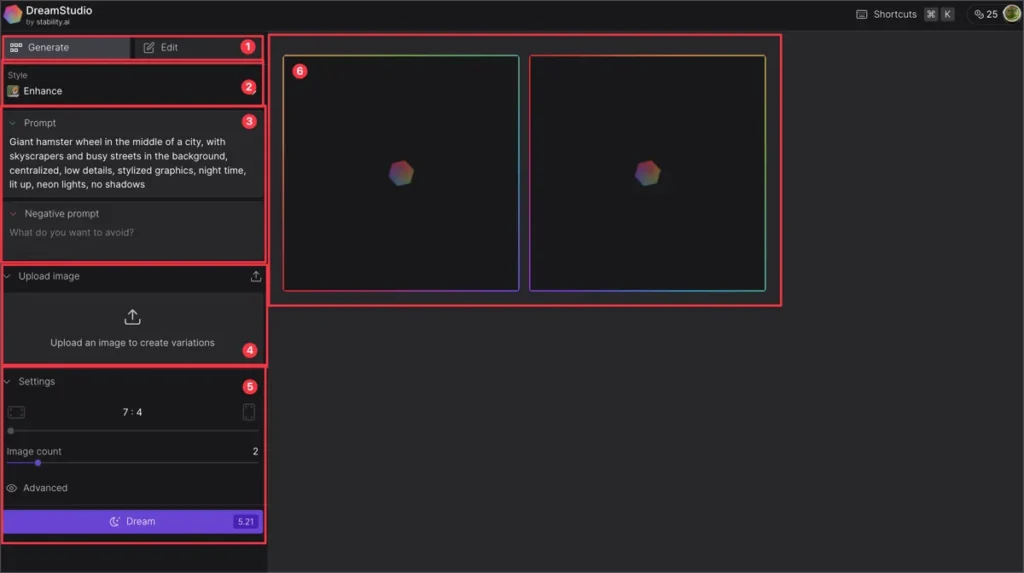
The layout of DreamStudio is similar to popular image editing programs like Photoshop or Lightroom. I will explain the features according to the numbers in the image above.
① Create or Edit
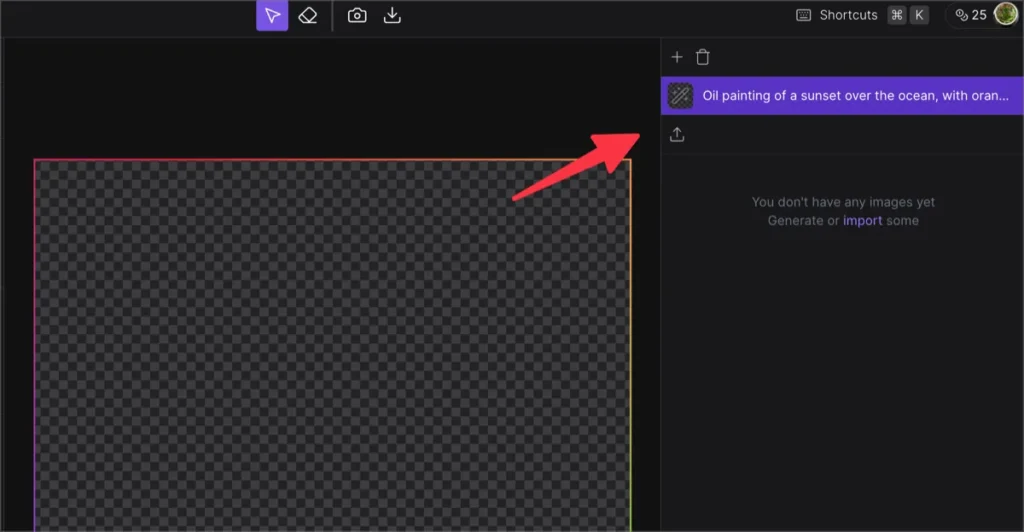
In the first panel, you can choose whether to generate images using AI or edit existing images. For image generation, you don’t need anything specific, but for image editing, you will need pre-existing images.
What’s really exciting is that you can insert your own photo and let the AI handle the editing and retouching based on the prompt.
② Style
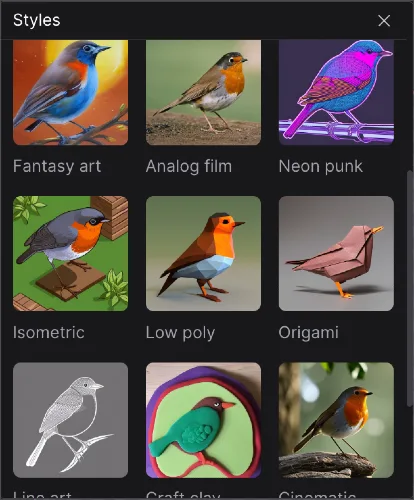
You can set the style of the image you want to create or edit in advance. Setting it to “none” allows for more diverse image styling using prompts. However, compared to the Playground, there are fewer pre-set style presets, which may be a bit disappointing.
③ Prompt
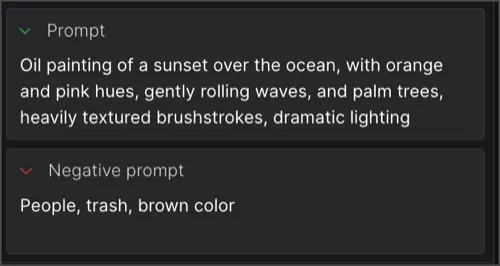
In the prompt input field, you can write prompts for image generation and elements to exclude from the generated image.
④ Upload Image
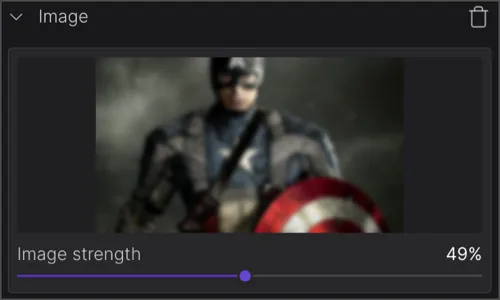
If you have a prepared image, you can upload it here. The AI will refer to the background, colors, objects, atmosphere, and other aspects of the uploaded image to generate a similar image.
Setting the image strength to a higher value will generate images that are more similar to the uploaded image.
⑤ Settings
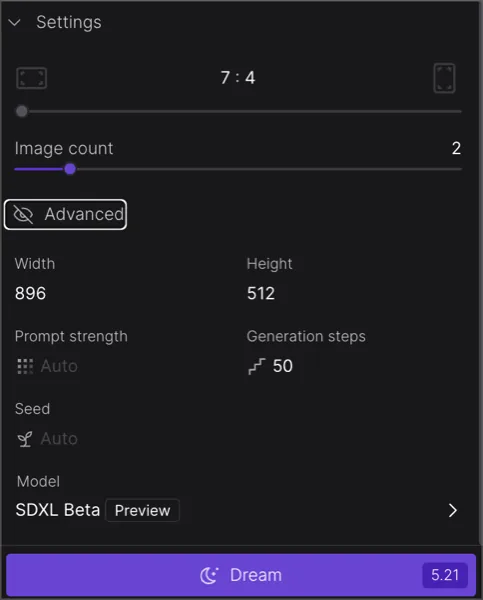
Finally, you can set the size of the image, the number of images to generate, prompt intensity, seed, and other options. Click the [Dream] button to generate the images.
⑥ Result Panel
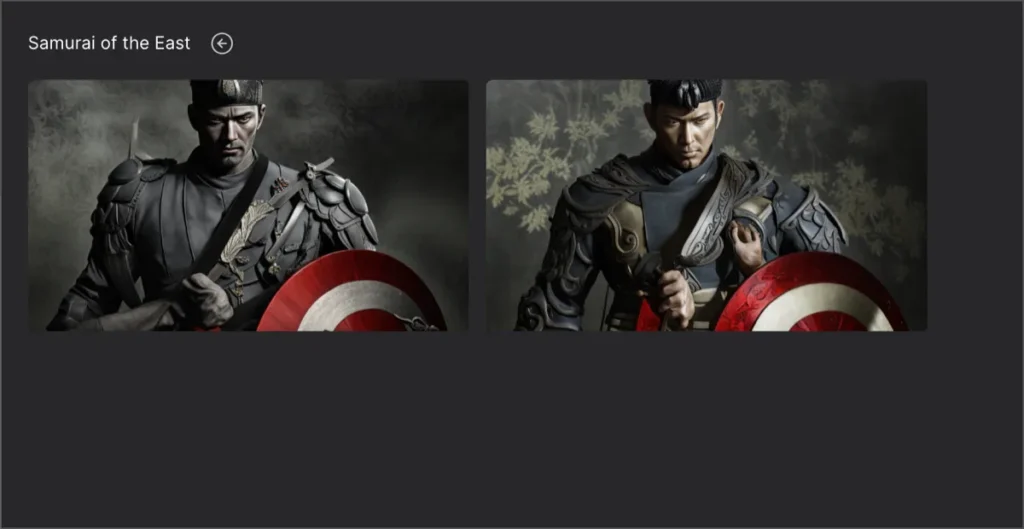
The images generated by AI will be listed in this panel. Clicking on an image allows you to view its detailed information, editing options, and sharing options.
Editing and sharing options
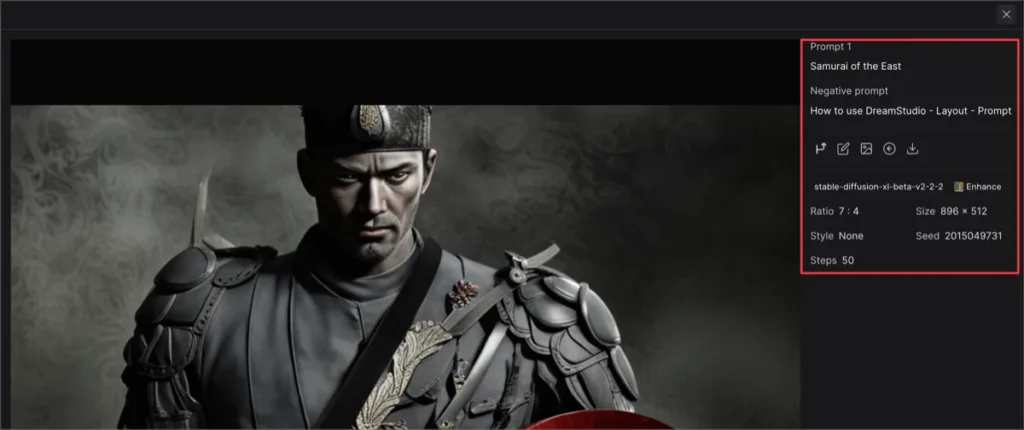
This is the detailed page where you can click on an image to view it. Here, you can see the prompts and settings you wrote for image generation, and you can edit, share, or download the image file for post-processing.
Playground VS DreamStudio
First, take a look at these two images and choose which one looks better.
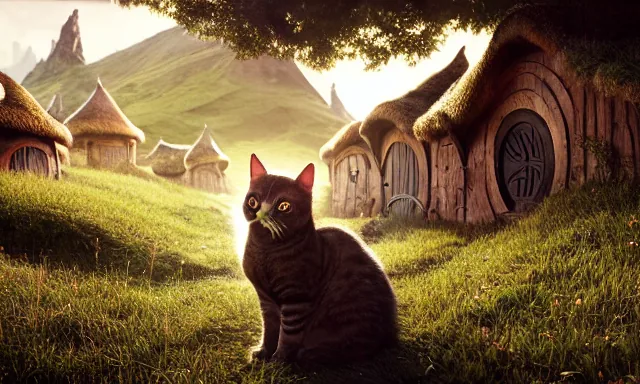

Both images were generated using the same prompt.
The first image is from 🌐 Playground, and the second image is from DreamStudio. It takes a bit longer to generate an image in DreamStudio, but the results are also superior.
DreamStudio Pricing
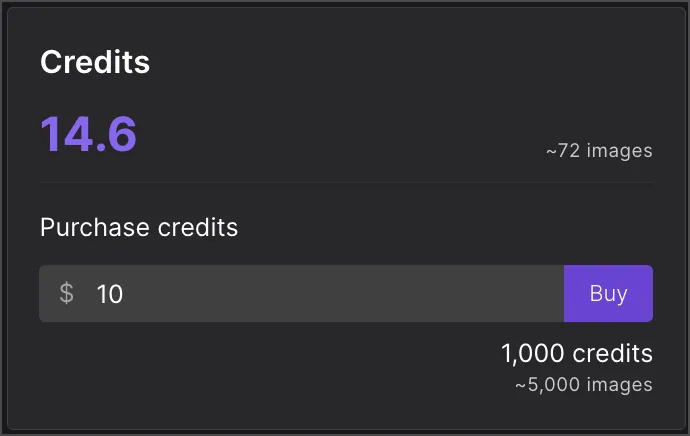
I heard that when signing up for DreamStudio, you receive 500 credits, but in reality, I only received 25 credits upon signing up. Additionally, the number of credits required for image generation varies depending on the settings chosen.
Here, it is indicated that with the current 14 credits, you can generate up to around 72 images. You can receive 1,000 credits for $10, and with 1,000 credits, you can generate approximately 5,000 images.
Conclusion
The AI images generated by DreamStudio are of excellent quality. Just based on the results alone, I would definitely choose DreamStudio. However, I don’t have a need to use AI image generation services to the extent of paying for them at the moment. Therefore, for curiosity, fun, and practice in prompt writing, I think I will continue to use Bing Image Creator and Playground more.
I would reserve DreamStudio for future use when I need to generate more professional images.